This year we were determined to not use canned pumpkin for any of our pumpkin dishes. Instead, we wanted to cook a fresh pumpkin from scratch. As we were debating the various cooking methods one could use, including boiling, steaming and roasting we decided to use the roasting method. It made more sense, since we were looking to concentrate the flavor of the pumpkin and draw out as much water as possible. If we would boil it, or steam it, it seems like you would more likely add instead of remove liquid… methods one could use, including boiling, steaming and roasting we decided to use the roasting method. It made more sense, since we were looking to concentrate the flavor of the pumpkin and draw out as much water as possible. If we would boil it, or steam it, it seems like you would more likely add instead of remove liquid…
When you buy a pumpkin with the intention to cook it, it’s a good idea to choose one of a smaller size. We bought both a large pumpkin as well as a small one, and the large pumpkin was difficult to cut as well as quite tasteless. The color difference was also great: while the large pumpkin had a pale color and very little aroma, the smaller pumpkin was much more orange and had a much more potent aroma. We also believe that the large pumpkin had a much higher water content. To cut the pumpkin, first remove the top part with a large cleaver, then cut it into smaller pieces and remove the seeds. Two pumpkins and two cooking methods:
Pumpkin # 1:
We started off with cutting and cooking the larger pumpkin. We peeled the larger pumpkin before we cooked it, and roasted it in a 250 degree oven for about an hour and a half. When it came it out of the oven, it had released a lot of liquid, but still looked quite watery. We processed the pumpkin in batches in the food processor. However, the mass was very watery. So in order to concentrate the flavor, we strained the pumpkin mash in a cheese cloth and it released a lot of water – about 4 cups.
Pumpkin #2:
When we cooked the smaller pumpkin we took a different approach. First, we decided to leave the peel on and remove it once the pumpkin was cooked, in order to draw more pumpkin flavor. Then we roasted the pumpkin in a 350 degree oven for about two hours. When it came out of the oven, it was much drier and had released some liquid, however it looked more like a dark syrup than water.  |  |
|
At this point we separated the pumpkin from the peel with a spoon and mashed the “meat” in the food processor. This time the mass was not watery at all and it demanded no straining.
Conclusion:
Definitely use a smaller pumpkin. We found that method number two produced a very good result, while method number one was just passable. It's difficult to tell how much leaving the peel on affected the flavor. However, it’s much easier to leave it on, and it’s likely that it boosted the pumpkin flavor somehow.
Don’t roast your pumpkin in an oven on too low a temperature. We found that cooking the pumpkin in a hotter oven for a longer period of time produced a better consistency as well as flavor.
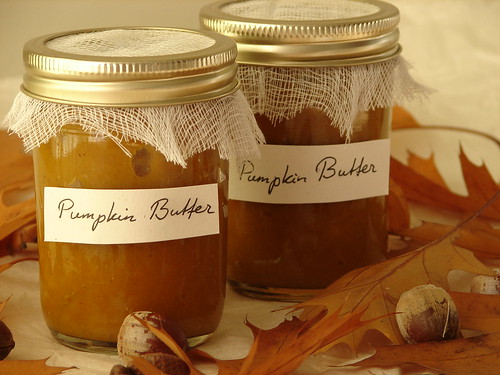
With the large pumpkin we made pumpkin soup as well as pumpkin pie, and with the smaller pumpkin we made pumpkin butter. We also utilized the pumpkin seeds and made a tasty snack.
To roast your own pumpkin is quite easy, it simply demands some of your time. So why not cook your own pumpkin? It’s so much more satisfying to work with your food from beginning to end starting with a bright orange pumpkin that turns into a golden pie or a spicy soup.
|