Red Velvet Cake We had a few issues in making this cake for the first time. A few ingredients got switched so we had to do the frosting over, but overall it came out very nice. This would be a great Valentines Day Gift.  Method Method
Preheat your oven to 350 degrees F Prepare two 9 inch pans with parchment paper - the easiest way is to first spray each pan with nonstick spray and then line the bottom of each pan with a circle of parchment paper. If you fold the parchment paper in a triangle shape, use the radius of the pan to measure and then cut an arch you will get a near perfect circle. Then spray the paper at the bottom of the pan. Add the cake flour, salt and cocoa powder to a work bowl, then sift the ingredients together to get out any large clumps. Then in a stand mixer cream the softened butter, then add the sugar and whip until light and fluffy. Scape down the sides of the bowl if necessary. Then add 1 egg at a time and mix before you add the next egg. Then add the vanilla extract.  Food Coloring Food Coloring
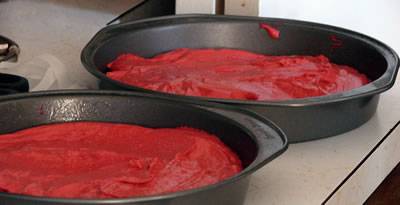
We did not have red liquid food coloring around, but we did have a red gel food coloring, which is much more concentrated and should not be used directly. So what we did was mix about a teaspoon of the gel with 1 fluid ounce of water. Then we added it to the buttermilk and mixed thoroughly. Then bring the buttermilk/food coloring and flour mix over to the mixer and begin to add it slowly and in stages, alternate the colored buttermilk with the flour mix in a few additions. Next add the vinegar to the baking soda and after it fizzes quickly fold it into the batter. Now your batter should be evenly divided into the two prepared pans. Dividing the Batter Evenly The easiest way to do this is to have a scale. We first weigh the mixing bowl, ours was 744 grams. Then once your batter is together weigh the bowl with the batter in it, ours was ~ 1800 grams, then subtract the 744 grams, and then divide the batter evenly between the two pans. Smooth the batter in each of the pans with a spatula and then bake for 10 minutes and then turn the pans around and bake for another 10 minutes. They are done baking when a toothpick comes out clean, or with just a few crumbs. Cooling the Cakes When the cakes are done place the hot pans on cooling racks for 10 minutes, then remove the cakes and let cool completely. We just learned a great tip about partially freezing the cakes once they are completely cool from the joyofbaking.com. Once they are completely cool wrap each cake in plastic wrap and place in the freezer for about an hour. They are so much easier to cut this way. Since we made these cakes a day ahead of time, after the hour in the freezer we put then in the fridge overnight. The next day they were very easy to work with and easy to cut.  Cream Cheese Frosting Cream Cheese Frosting
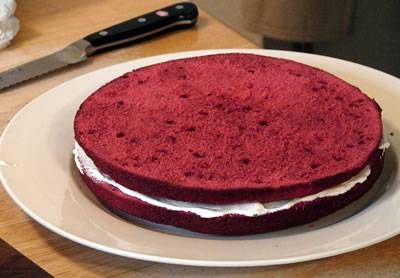
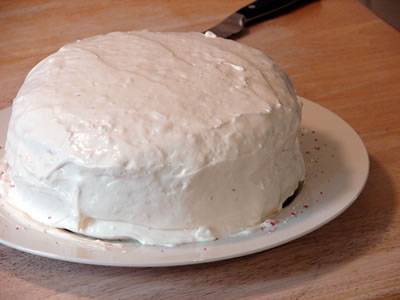
In a food processor place the softened cream cheese and mix with the powdered sugar and vanilla extract. Process until smooth. Move this mix to a work bowl. In your stand mixer whip the cream until stiff peaks. Then gently fold in the cream to the cream cheese mix. Do this in stages and do not over whip. Place the frosting in the fridge for an hour, or over night to firm up. Assembling the Cake Once you cut each cake in two, place a little bit of frosting on each layer. Not too much because you want enough to cover the entire cake, just enough so that you get frosting on each layer when cut. Conclusion This is a very good cake that if prepared for can be very easy to make. You should get everything in place before you start. And if you are preparing the cake ahead of time it is even easier. There are a couple of changes we want to make next time we make it. We want to try using unprocessed cocoa powder and try to not use the food coloring. We were thinking about maybe 2 ounces (4 tablespoons) of the cocoa powder and 2 teaspoons of vinegar. We want a bit more of the cocoa flavor and maybe we won't have to use the food coloring. The mix of unprocessed cocoa powder and vinegar should produce the reddish color we are looking for. But we have to test this. Another possibility is to use a little baking powder to produce a slightly more airy cake. The cakes were a little dense, although they rose nicely.
| 
